Time Machine Backup with Size Limit on Mac OSX Mountain Lion
💻Computers
Although my blog is mostly about productivity I sometimes write about “geeky” stuff that loosely relate to productivity. One and a half years ago I posted about my way of doing backups on Mac OSX Lion and to this date it’s one of my most viewed posts of all time. The challenge was to backup your data in such a way, that the backup would be (a) securely encrypted and (b) limited in size. This way I can back up several macs to one Time Capsule or external hard drive. Now it’s time to updated my old post that was based on “Lion” to the new one based on the newest “cat” - Mountain Lion:
As I mentioned, my highly technical post attracted lots of readers and lots of comments. One of the readers, Stefan, posted a great comment simplifying the whole process and updating it to the Mountain Lion. I decided to try it myself and tweaked his instructions a little and there it is, the new instructions - how to create a secure backup with size limit on Mountain Lion:
I recently ditched my Macbook Air and I’m working almost exclusively on my iPad but my wife has one Air and we also have a Mac Mini. I bought a new Time Capsule (2TB version) and now I want to use 1TB for Mac Mini backups, 500GB for MacBook Air backups and 500GB for other media. Here’s what I did step by step on both Macs:
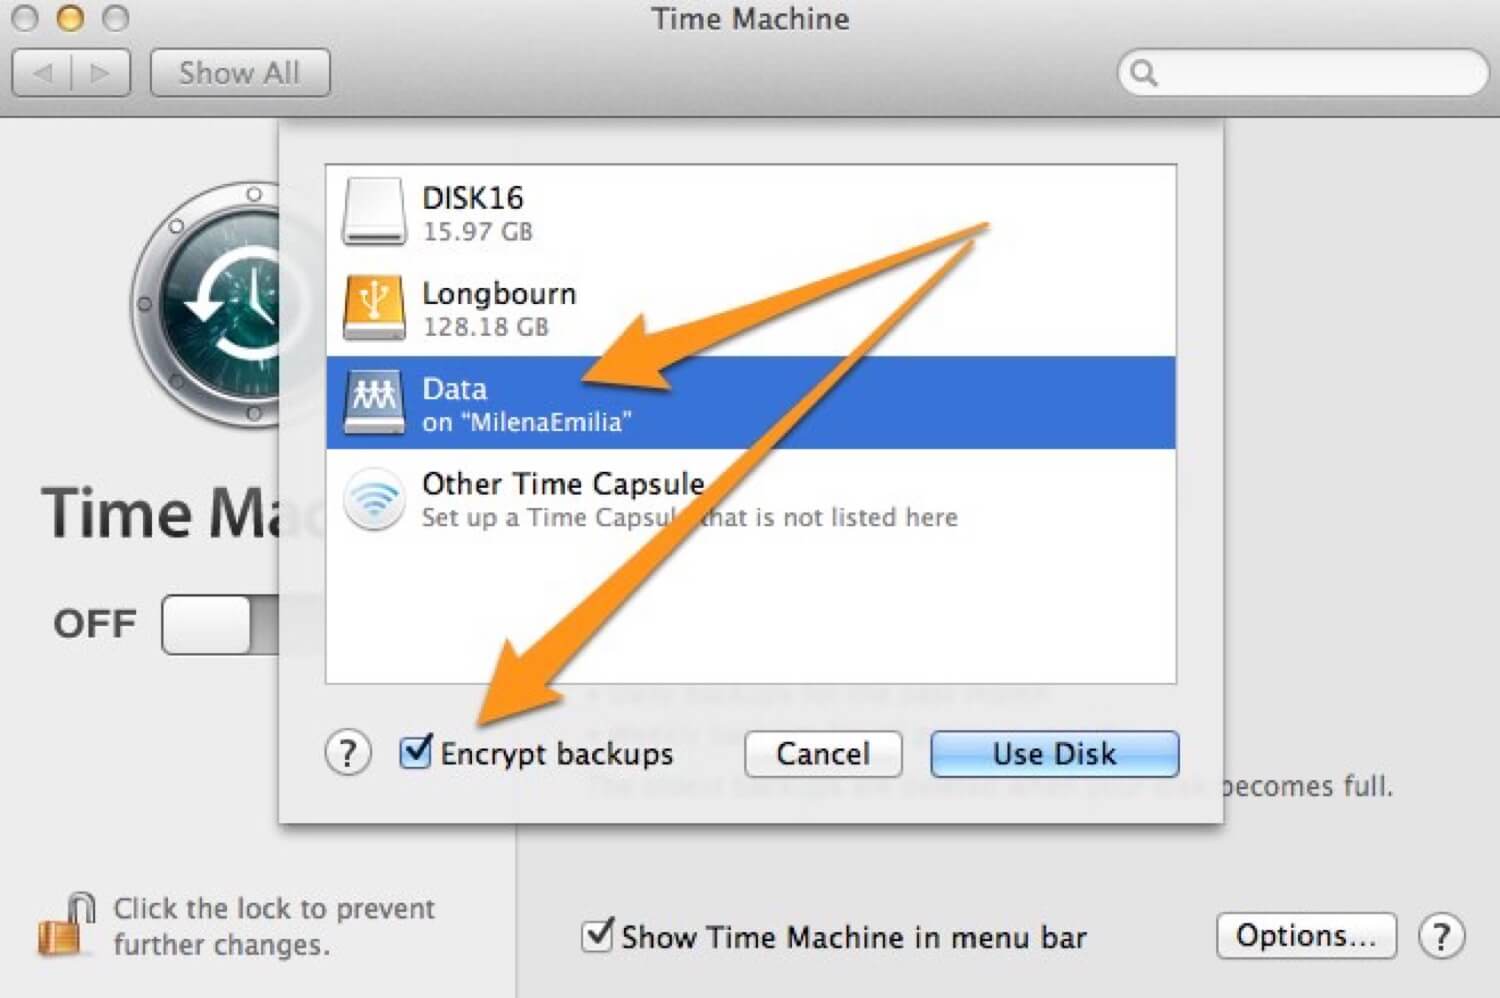
1) After a successful Mountian Lion installation set up a regular Time Machine backup in the System Preferences. Mountain Lion gives the option to “encrypt backup” so please check it. It’s very important (and it wasn’t there in Lion). It will prompt you for backup password - set one up.
2) Perform a standard backup. Ideally, before you go to sleep, it may take a while.
3) You should have a “Machine_Name.sparsbundle” file on your Time Capsule or external hard drive. In my case it was “Niunia.sparsebundle” as my Mac Mini is called “Niunia” (don’t ask!). Turn off Time Machine backups for now.
4) The geeky stuff (it’s easy) - as mentioned above I decided to have close to 1TB for Mini backup, so I chose 950GB. As I’m backing up to Time Capsule, it mounts my TC disk in /Volumes/Data/ on my Mac. Open Terminal and type this (you need to be an Administrator of your Mac):
hdiutil resize -size 950g /Volumes/Data/Niunia.sparsebundle
Now to make sure the Time Machine doesn’t reset this setting, you need to type this:
chflags uchg /Volumes/Data/Niunia.sparsebundle/Info.*
5) Now turn the Time Machine backups again. It will backup your Mac nicely and your backup disk size will be encrypted and limited to the size you specified above (in my case 950GB)
6) Optional step: Do the same thing for your other Mac. I set up my wife’s Macbook Air with 256 SSD for 500GB backup size.
7) Optional step: As in my previous article I totally recommend switching off Time Machine backups and downloading an app called Time Machine Editor to handle Time Machine scheduling. I just hate it that Time Machine backups up every hour. It’s too often for me. With this app I set up the backup every 6 hours. Easy and sweet.
There we are, thanks to many great comments on my past article and great comments by the reader Stefan, I have a size-limited and fully encrypted Time Machine backup running smoothly on all of my Macs in the family, backing up to a single Time Capsule.
Question: Did you manage to back up successfully on Mountain Lion? Any other tips and tricks regarding backups?